Showing posts with label stencils. Show all posts

Thursday, March 17, 2016

Birds Nest for Easter Step by Step

"If we always do what we always did we always get what we always had!"


Perfect quote sent to me the other day by my lovely friend and fellow artist Joanne Boone Thomas

What a great saying! And its so true.  I am very much climbing out of my comfort zone and having such fun experimenting with new printing techniques.

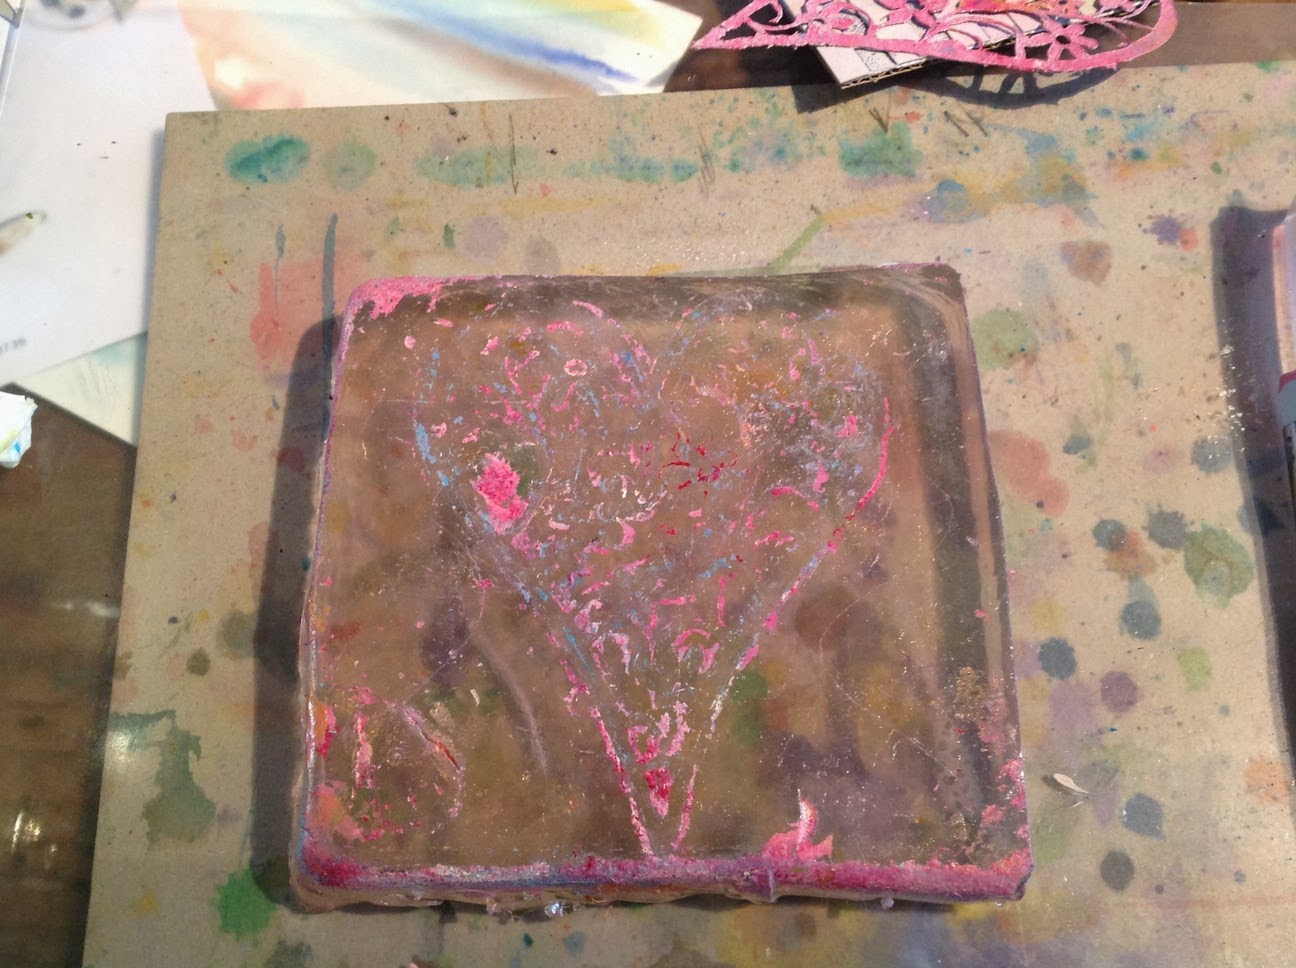
I can't believe it was only last week that I received my delivery of all my new Gel Press plates and this is the first time or using a round one. 


So much has happened since then and all of it doing printing! Oh and planning, dreaming, sketching out ideas..............

Gel Press junky is now an understatement.  So whilst the paint is still wet I will fill you in with what I have done.

Here is a short step-by-step on how I achieved my nests of eggs.  A favourite subject at this time of year in all mediums and printing by no means gets left behind!
                                                                 SLIDESHOW BELOW

Materials
  • 8" Round Gel Press Plate
  • Acrylic paints
  • Brayer
  • Copy Paper
  • Bunch of grasses
  • Scrap Paper 
  • Egg cutouts (masks)
  • Embellishing materials and spare prints

 First I dabbed on nest colours of yellow ochre and burnt sienna
 I brayered this over the plate till the colours blended but in a patchy way
I then took my bunch of reed grass and moving around the plate pushed it into the paint thus picking up the paint on the way and leaving an impression
I then used the brayer to roll black paint on the grass
 and then pressed this onto the painted plate to leave black grass impressions
At this point I took a print with the centre a solid colour as one option
I then added three egg cutouts (masks) and pulled another print
I added cream and pink paint and rolled it out over the Gel Press plate
And got this, which I love!  Can you see the childs face in there?  Something to work on later.


Here is a short slideshow showing how some of them ended up.  A couple I would call finished and the others ....well i'll just have to play with those.

Click HERE view slideshow


Happy Easter and see you next time!

Bix x


Monday, February 3, 2014

I'm in Love!!!!!

In love with a process called Gelli Plate printing.

Not heard of it?  Just type it in Google and oooooooogle it!   For me being a lover of finding ways to texture in watercolour, this is very different as using mostly acrylics which are textured in themselves, but am also experimenting with inks (brusho) and watercolour too and have a zillion ideas in my head.

But first I needed Gelli Plate, whose main ingredient, as the name indicates is humble Gelatine.  But don't be fooled to think its that easy.  i found that Gelatine comes in different forms, those being powder and sheets to name the only two that I have found.  And I am guessing that the content of these will vary depending on where you live.  So there is some degree of experimenting to do here.  But once made the plate will last and even when damaged or stained, you can melt it down again (on the stove or in the Microwave) and reset in a mould.

There are quite a few recipes on the web, and this is one that I used and modified it a bit to suit me, as my plate seemed weaker than the one shown and described. screen.

Gelli Plate Recipe

 There are recipes too that include Alcohol but that seems to be retracted as there were problems with the setting.  My recipe set down here can set without refrigeration, and kept without refrigeration too but if you have room in your fridge and your family wont tuck into it, it tends to speed setting up.  Try and leave it alone for a minimum of 24 hours.  I didnt and it was'nt ready and I had to reset it again.  One day I'll learn!
My first Gelli Plate
  
     Glycerine     -   250ml (From chemists)
     Gelatine       -     35gm = 2 packs dry sheets Gelatine
     Sugar           -    70gm
     Water           -   120ml
     Vinegar       -    120ml (white)
     Salt             -    1 tablespoon

Method: Soak the gelatine leaves in water for 5 mins till soft. Strain and put in saucepan add 120 ml boiling water and add sugar, vinegar and salt.  Heat through but do not boil  Add glycerine.  Stir till dissolved and pour in a suitable dish.  This could be a square glass Pyrex style dish, or a plastic container.  As long as it has straight sides and is over 1/2 inch deep. But it can be whatever size and shape you wish your prints to be and when you are bored you can melt it down and start again.  I made two from the recipe.  One square and one oblong!


This is the first time that I have done anything like this so am feeling my way and the Internet is a fantastic resource for millions of ideas, but experimenting is the key.  So try things out and see what works and what doesn't. But the one thing I did have was plenty of acrylic paint.  So I just played.  I also got out some rubbish watercolour tubes I had and didn't know what to do with and they are perfect for this.Even the Brusho has come out to be tested.. 


Now its play time. I recommend that you watch a few videos on Youtube Click link to see one artists work.  This video is nearly 2 hours long and there is plenty in it. See how others do theirs and then find your own way. Acrylic paints in tubes are ones that I am using as those are the ones that I have at hand, but more liquid ones in bottles can to be used too and I suspect that they will work better. 

Place small amounts on the plate, of colours that you like and then using a roller, brush, scraper, piece of card or even a pallete knife spread the paint around and then press different texture things into the paint to leave an impression.  Bubble wrap, corks, keys, buttons, string the options are endless.  Once your brain starts working on these texture ideas, it wont stop and now I am making my own stencils, masques, and stamps from polystyrene felt, foam and anything I can get my hands on.

The first pull many say (and I agree) is not everyones favourite as there is usually too much paint on the print, and by doing a second pull you are left with "ghosting" marks of the stencil or masque that you may have used. See left .  This produces a far more satisfying print in my opinion and one that you can grow from!

This heart was created by cutting a stencil from thin acetate with a soldering iron.  Worked great!  It melts polystyrene beautifully too.

These are some of my first pulls and this is what I have turned them into! 


After I have sat down with them for a while, I then decide on how I want to take them further and embellish with my Tombo and Zig pens, and silver and gold pens too.  A decoupage here and there et voila!!!! Another creation.


Your imagination is what gets this project going and what you can see in what you created and how far you want it to go!


The result of painting quite thick on the plate but that gave me four pulls and I was able to go in later and enhance with tombow pens and pull out the details that I wanted.


This is something I doodled with last night and where I want it to go  I printed off on the photocopier first to test my theory.  Now just have to be brave enough to try it out for real!

Now where do think I will be going with this one?

If you want to see more results of my gelli plate printing, please visit my Pinterest page by clicking here where I will be post more of my art, hopefully as I do it!

Also think of holding craft week holidays here at Bandouille so if you are interested please let me know and I will earmark a week this year!


Feel free to ask questions or comments and have fun!

Bix x


PS  to people that have followed my Bandouille blog in the past!!! Be impressed! My second post in 3 weeks....hey hey!!! x